Upcycled Pallet Furniture: From Trash to Treasure
Transform discarded wooden pallets into stylish furniture pieces for your home. This comprehensive guide shows you how to create a coffee table, bookshelf, and outdoor seating with minimal tools and budget.
Introduction to Pallet Upcycling
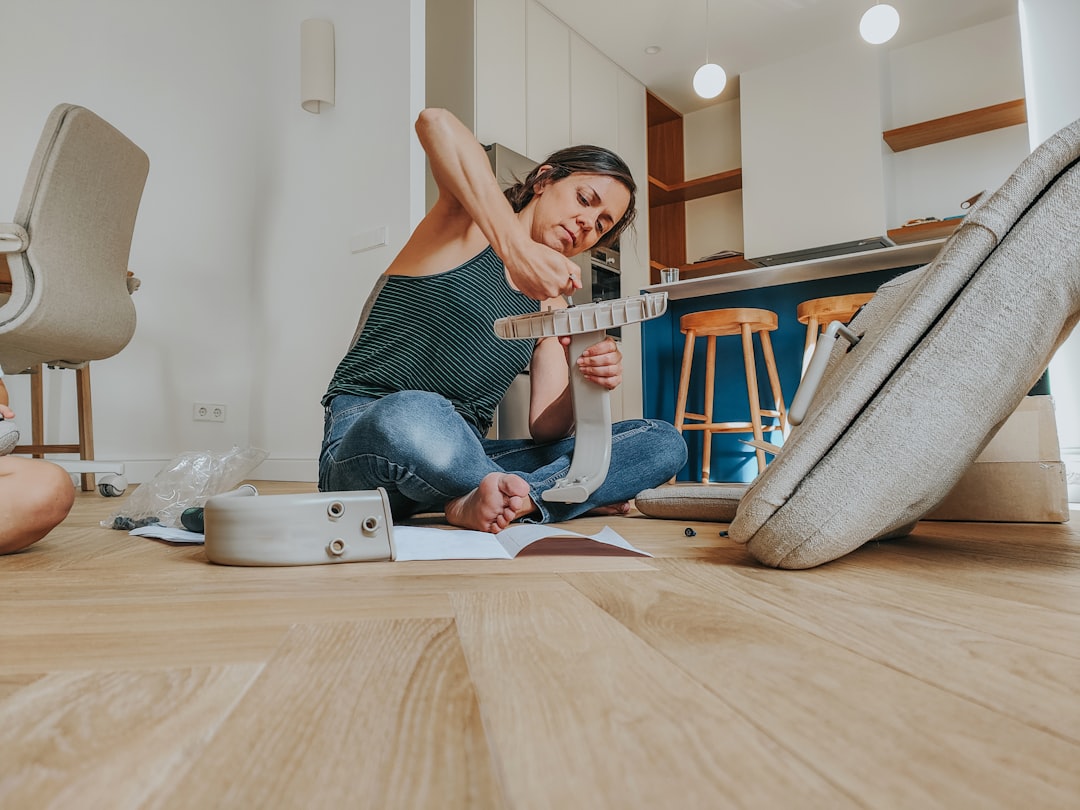
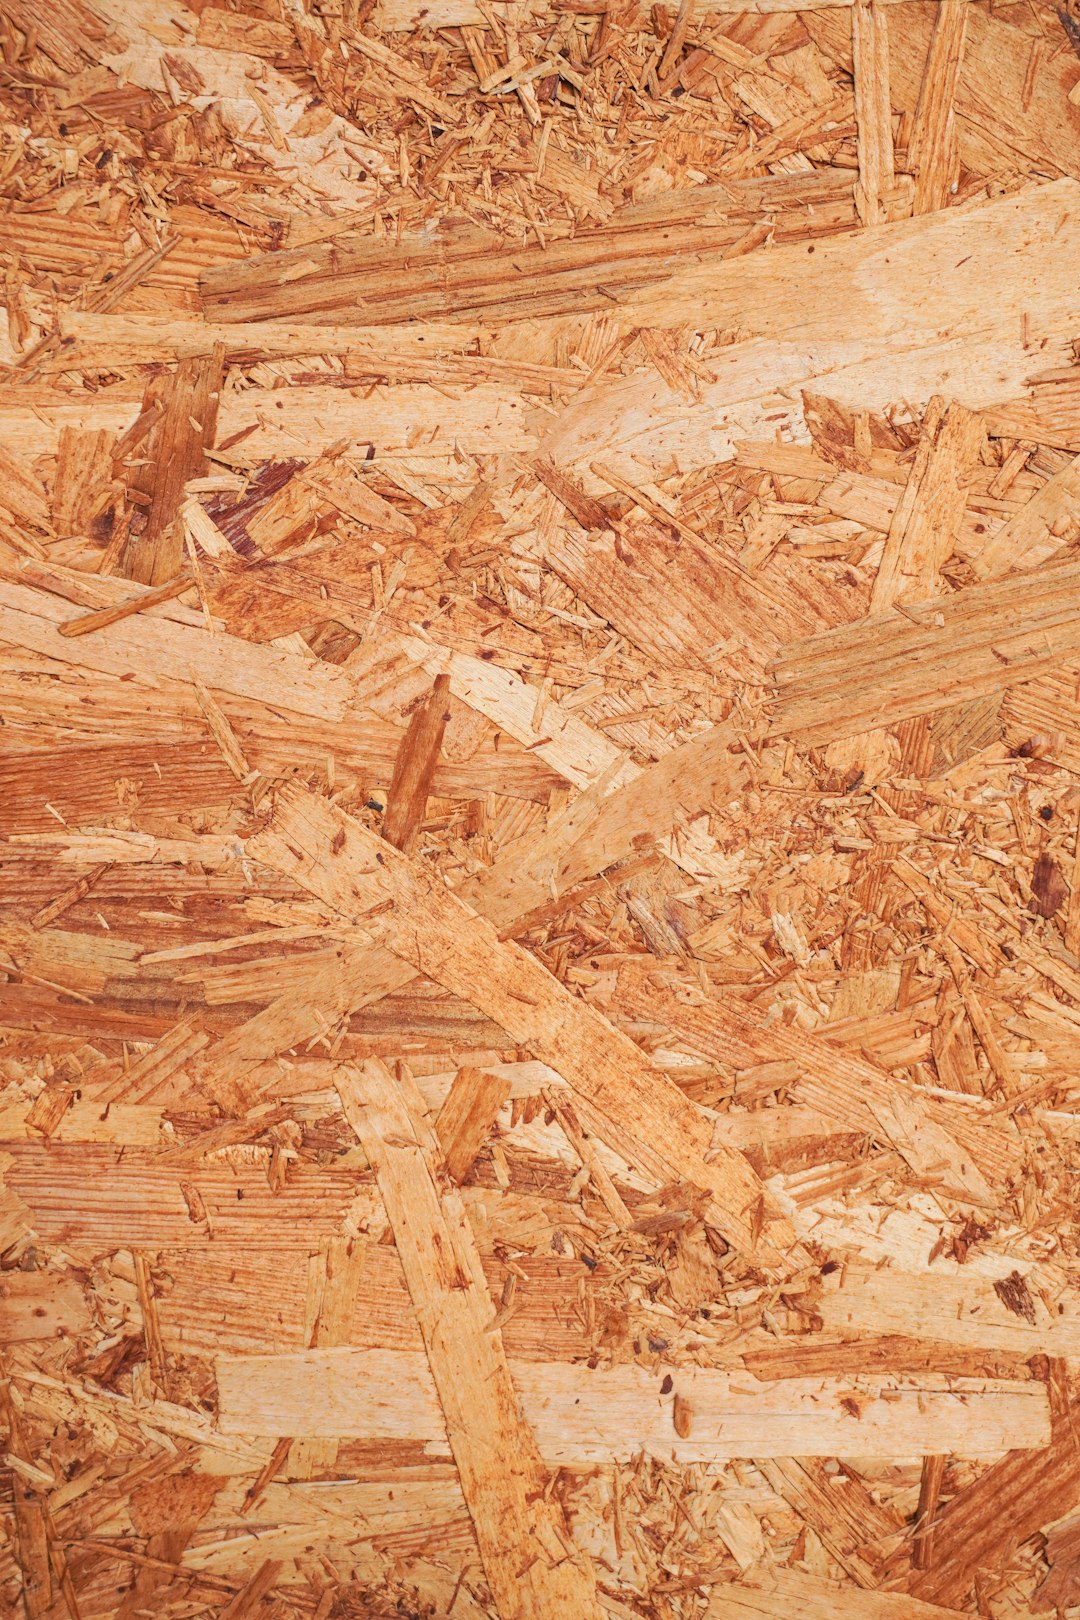
Wooden pallets are versatile materials that are often discarded after a single use, but with some creativity and basic tools, they can be transformed into beautiful, functional furniture. Not only is pallet furniture environmentally friendly, but it also has a rustic charm that adds character to any space.
In this tutorial, I'll walk you through three different pallet furniture projects: a coffee table, a bookshelf, and outdoor seating. Each project can be completed in a weekend and requires minimal materials beyond the pallets themselves.
Materials and Tools You'll Need
Materials:
- 4-6 wooden pallets (look for heat-treated pallets marked with "HT")
- Wood screws (2" and 3")
- Wood glue
- Sandpaper (60, 120, and 220 grit)
- Wood stain or paint
- Clear polyurethane sealer
- Furniture casters (optional)
- Foam cushions (for outdoor seating)
- Fabric for cushion covers
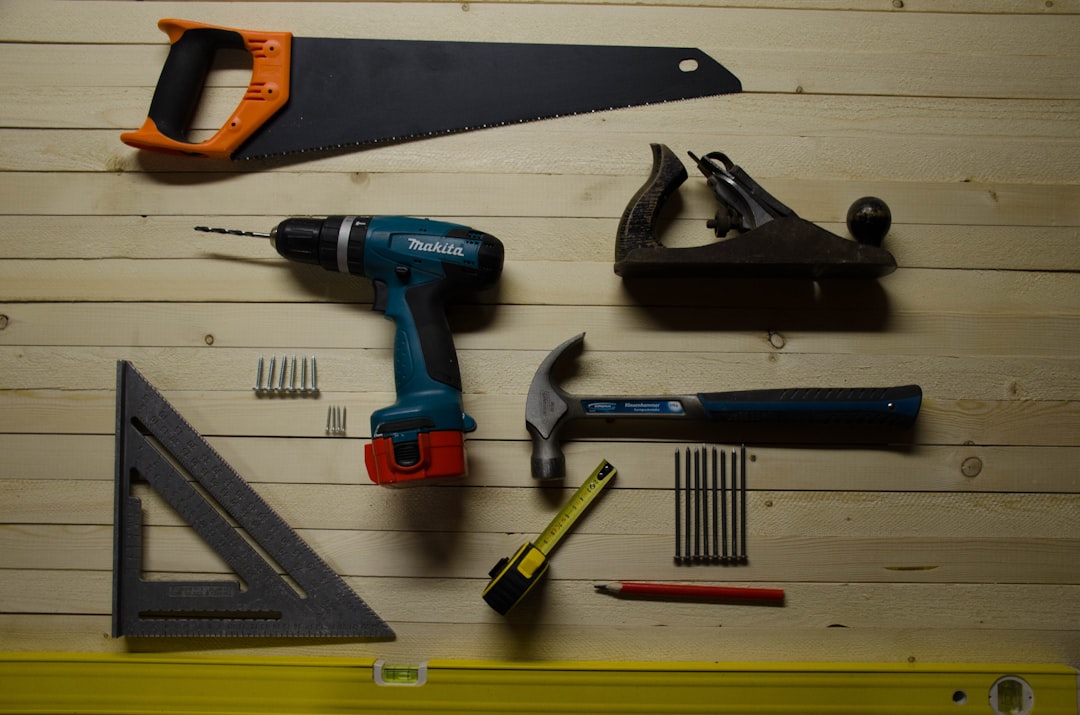
Tools:
- Pry bar or hammer
- Saw (circular, jigsaw, or handsaw)
- Drill with screwdriver bits
- Sanding block or electric sander
- Measuring tape
- Pencil
- Safety gear (gloves, safety glasses, dust mask)
- Paintbrush or foam brush
- Clamps
Safety First
Before starting any pallet project, it's important to consider safety:
- Choose safe pallets: Look for pallets marked with "HT" (heat-treated) and avoid those marked with "MB" (methyl bromide), which can contain harmful chemicals.
- Clean thoroughly: Scrub pallets with soap and water to remove dirt and potential contaminants.
- Wear protection: Always use gloves when handling pallets to avoid splinters, safety glasses when cutting, and a dust mask when sanding.
- Check for nails: Remove or hammer down any protruding nails before working with pallets.
Project 1: Pallet Coffee Table
Step 1: Disassemble and Prepare the Pallets
Start by carefully taking apart 2-3 pallets using a pry bar or hammer. Remove any nails or staples, and set aside the best boards for your table. You'll need enough wood for the tabletop, base, and shelf (if desired).
Step 2: Build the Table Base
Create a simple rectangular frame for the base using 4 pallet boards. Cut them to your desired table length and width (typically 40" x 24" for a coffee table). Join the corners using wood screws and glue for added strength.
Step 3: Add Support and a Lower Shelf
Add cross supports to the base frame for stability. Then, attach boards across the lower section of the frame to create a shelf for books or decorative items.
Step 4: Create the Tabletop
Arrange pallet boards side by side to form the tabletop. For a smoother finish, try to use boards of similar thickness. Secure them to each other using support pieces underneath, screwed from the bottom so no hardware is visible from the top.
Step 5: Attach the Top to the Base
Place the tabletop onto the base and secure it with screws from underneath. If you want to add mobility, now is the time to attach casters to the bottom of the table legs.
Step 6: Sand and Finish
Sand all surfaces starting with 60 grit sandpaper, then moving to 120 and finally 220 for a smooth finish. Pay special attention to edges and corners to prevent splinters. Apply your chosen stain or paint, and once dry, seal with 2-3 coats of polyurethane for protection.

Project 2: Pallet Bookshelf
Using the same basic techniques, you can create a rustic bookshelf from pallets. The simplest design uses a pallet standing vertically, with the slats serving as shelves. For a more substantial bookcase, combine multiple pallets or create a custom design using pallet boards.
Project 3: Outdoor Pallet Seating
For outdoor seating, whole pallets can be used as the base structure. Stack and secure 2-3 pallets for seat height, then add another vertically for a backrest. Sand thoroughly and seal with outdoor-rated polyurethane to withstand the elements. Add foam cushions covered in weather-resistant fabric for comfort.
Tips for Success
- Take your time selecting pallets – look for those with minimal damage and good quality wood.
- Consider heat-treating your own pallets in a home oven at 150°F for 30 minutes to kill any potential insects.
- Pre-drill holes before inserting screws to prevent the wood from splitting.
- For a more polished look, fill gaps and nail holes with wood filler before sanding.
- Experiment with different stain colors or distressing techniques to achieve your desired aesthetic.
- Add personal touches like metal corners, decorative hardware, or glass tops.
Conclusion
Pallet furniture projects are a rewarding way to create unique pieces for your home while reducing waste. With a bit of creativity and effort, you can transform these humble wooden structures into beautiful, functional furniture that will impress your friends and family.
Remember, each pallet is different, so be flexible with your designs and embrace the rustic, imperfect nature of the wood. That's part of what makes pallet furniture so charming!
Have you created any pallet furniture projects? Share your photos and experiences in the comments below – we'd love to see what you've made!


Comments (4)
Sarah Wilson
June 18, 2023I made the coffee table last weekend and it turned out amazing! I added some hairpin legs instead of casters for a mid-century modern look. Thanks for the detailed instructions!
David Thompson
June 20, 2023Where's the best place to find pallets? I've been checking behind stores but most of them say they return them to suppliers.
Michael Chen
June 20, 2023Hi David! Great question. Try construction sites, small local businesses, or Facebook Marketplace. Many people give away pallets for free. Just be sure to ask permission before taking them. Also, check Craigslist under the "free" section!
Jennifer Moore
June 22, 2023I love the outdoor seating idea! Do you have any recommendations for weatherproofing the wood? I live in a pretty rainy climate and worry about the pallets deteriorating outside.
Leave a Comment