Beginner's Guide to Macrame Wall Hangings
Learn the art of macrame with this easy-to-follow tutorial for beginners. We'll cover basic knots, materials, and design principles to help you create a stunning wall hanging for your home decor.

Introduction to Macrame
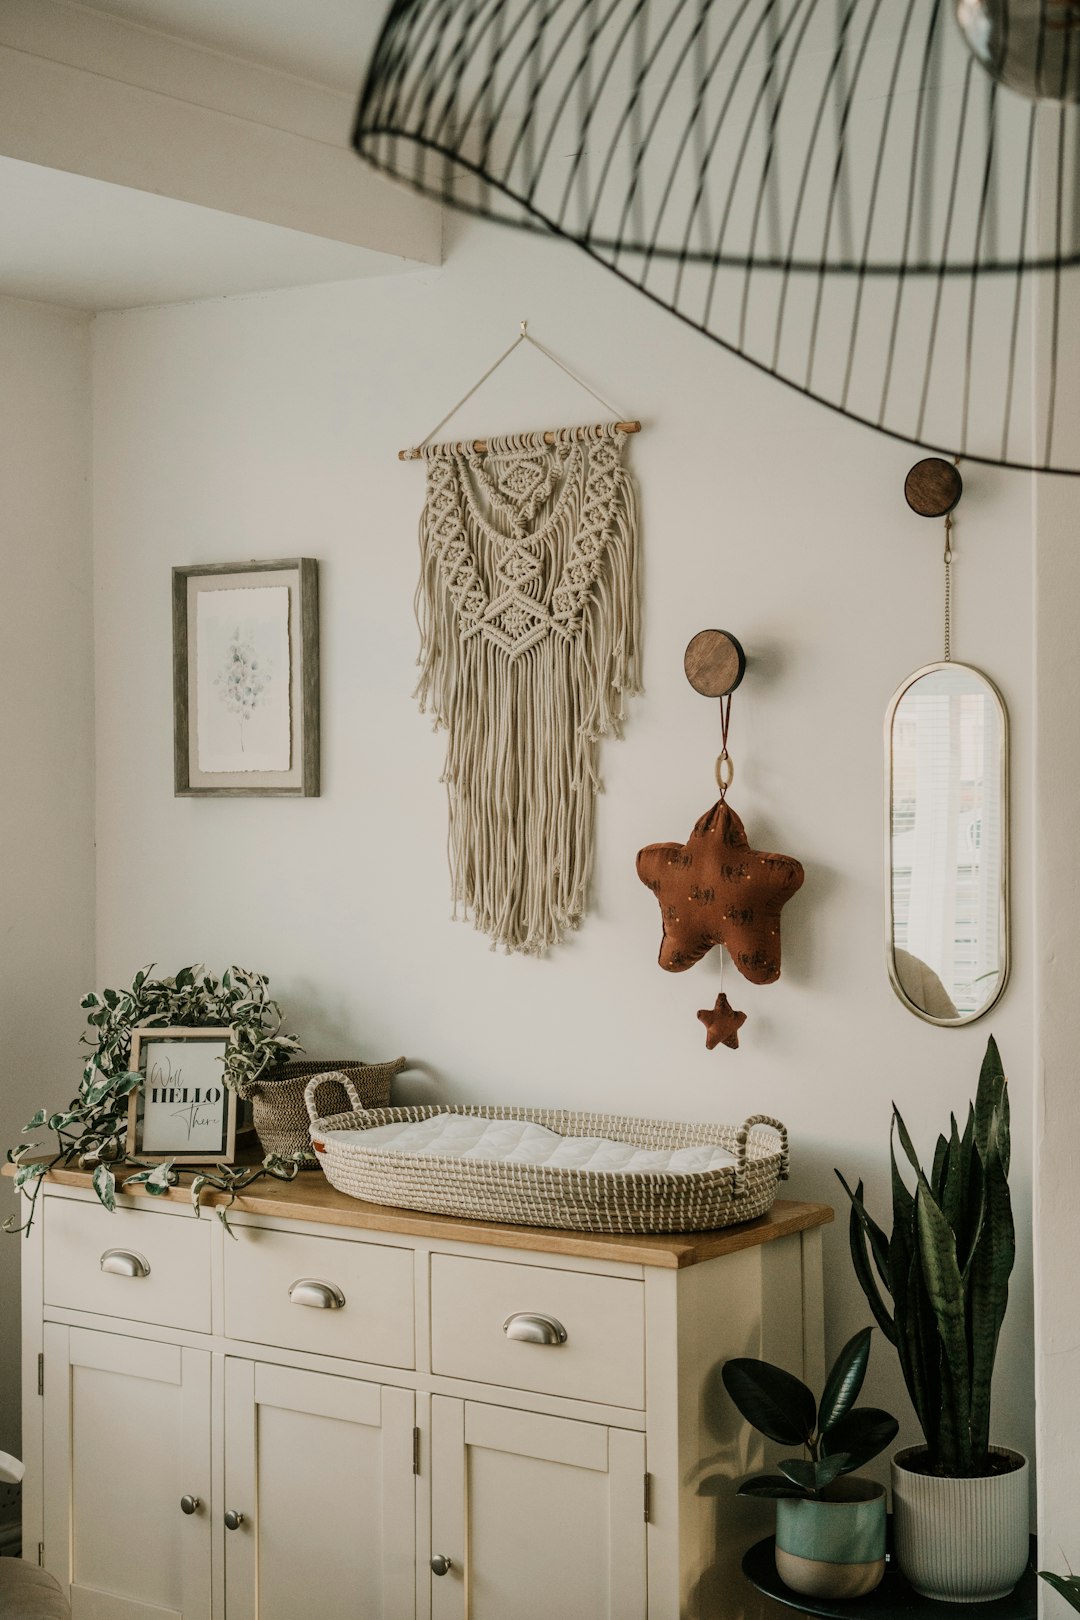
Macrame is an ancient craft of knotting cord into intricate patterns. Recently, it has made a major comeback in home decor, with macrame wall hangings becoming particularly popular. The beautiful textures and natural materials create a bohemian, handcrafted aesthetic that adds warmth and interest to any space.
The best part about macrame? It's surprisingly simple to learn! With just a few basic knots and some patience, you can create gorgeous wall art that looks far more complex than it actually is. In this beginner's guide, I'll walk you through everything you need to know to create your first macrame wall hanging.
Materials You'll Need
Essential Materials:
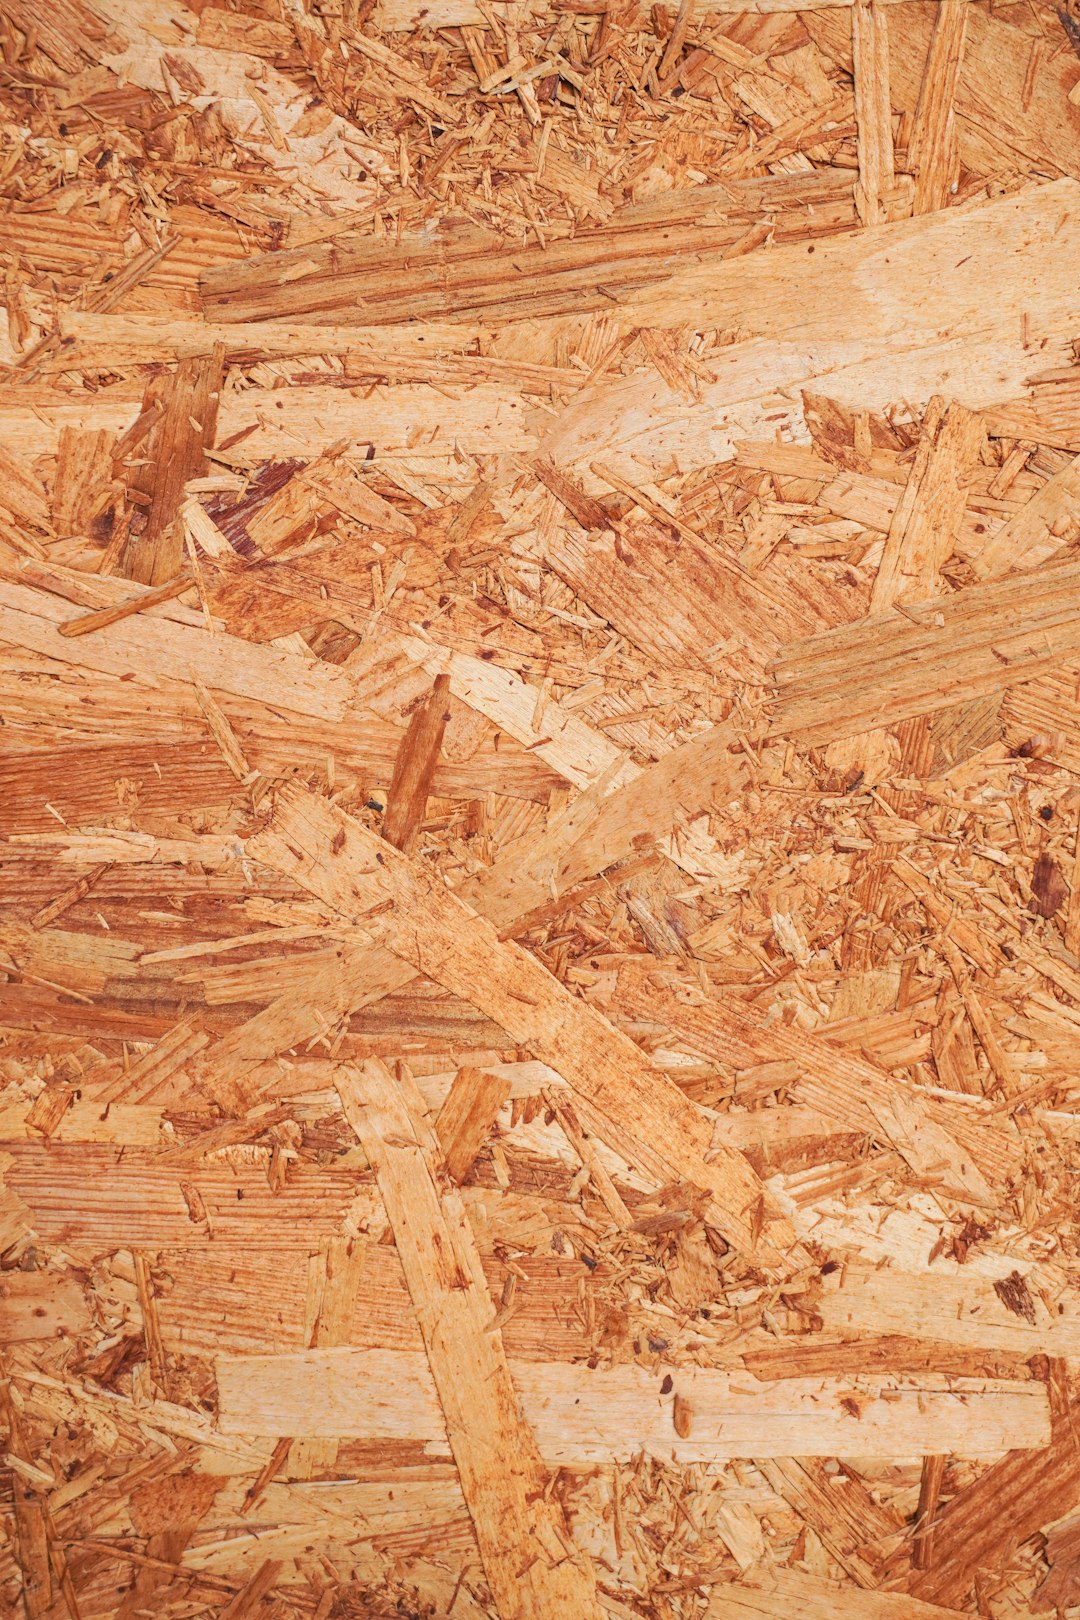
- Macrame cord (100% cotton is recommended for beginners)
- Wooden dowel, driftwood, or branch (for hanging)
- Sharp scissors
- Measuring tape
- Masking tape
Optional Materials:
- Wooden beads
- Colored cord for accent
- A comb or macrame brush for fringe
- S-hooks or wall hooks for hanging
- Small clamps (helpful but not necessary)
About Cord Selection: For beginners, I recommend 3-5mm cotton cord, which is easy to work with and forgiving when you make mistakes. For a medium-sized wall hanging (approximately 24" wide by 30" long), you'll need about 100-120 yards of cord.
Basic Macrame Knots
Before we start our project, let's learn the four basic knots that form the foundation of macrame:
1. Lark's Head Knot
This is the most common way to attach your cords to your dowel or branch.
- Fold your cord in half to create a loop
- Place the loop behind your dowel
- Pull the two ends through the loop
- Pull tight to secure
2. Square Knot
The square knot is perhaps the most versatile and commonly used knot in macrame.
- You'll need 4 cords. The middle 2 cords are "filler cords," and the outer cords are "working cords"
- Take the left working cord and place it over the filler cords and under the right working cord
- Take the right working cord, bring it under the filler cords and up through the loop created by the left working cord
- Pull tight to complete the first half of the square knot
- Now repeat in the opposite direction: right cord over filler cords and under left cord; left cord under fillers and up through the loop
- Pull tight to complete the square knot
3. Spiral Knot (Half Square Knot)
A spiral knot is simply half of a square knot repeated in the same direction.
- Follow steps 1-4 of the square knot
- Repeat these same steps (always starting from the same side) multiple times
- The knot will naturally begin to spiral as you continue
4. Double Half Hitch Knot
This knot creates diagonal or horizontal lines in your work.
- Select one cord to be your "filler" cord, holding it taut horizontally
- Take the cord to the right of it and loop it over and behind the filler cord, then pull it through the loop created
- Pull tight to create a half hitch knot
- Repeat once more with the same cord to create a double half hitch
- Continue with each cord moving right to left (or left to right), creating double half hitches on your filler cord
Project: Simple Beginner's Macrame Wall Hanging
Now that we understand the basic knots, let's create a simple but beautiful wall hanging.
Step 1: Prepare Your Materials
Cut 12 pieces of cord, each 8 feet long. This might seem excessive, but it's better to have too much than too little!
Step 2: Attach Cords to Your Dowel
Using Lark's Head knots, attach all 12 cords to your dowel. This will give you 24 working strands.

Step 3: Create Your First Row of Knots
Starting about 3 inches down from the dowel, create a row of square knots. With 24 strands, you'll be able to make 6 square knots (each using 4 strands).
Step 4: Add a Row of Diagonal Double Half Hitches
About 2 inches below your square knots, take the leftmost cord and hold it at a diagonal. Use the remaining cords to create double half hitches along this diagonal line.

Step 5: Create Another Row of Square Knots
About 2 inches below your diagonal row, create another row of square knots, but this time, offset them from the first row by starting your first square knot with strands 2, 3, 4, and 5.
Step 6: Add Some Spiral Knots
Choose a few sections of 4 strands and create spiral knots of varying lengths for visual interest.
Step 7: Create a Final Row of Square Knots
Add one more row of square knots, aligning them with your first row.
Step 8: Trim and Create Fringe
Once you're satisfied with your design, it's time to create the fringe at the bottom:
- Measure from the bottom of your design to ensure all cords are even
- Trim the ends to your desired length
- Use a comb or macrame brush to unravel the cut ends, creating a fringe effect
- Trim the fringe into your desired shape (straight across, V-shape, or asymmetrical)

Tips for Success
- Work on a flat surface when possible to help keep your tension even
- When starting out, use masking tape to attach your dowel to a table edge or wall to keep it stable
- Keep your tension consistent – not too tight and not too loose
- Measure frequently to ensure your knots align properly
- If you make a mistake, don't worry! Most knots can be easily untied and redone
- For a cleaner look, brush your fringe regularly as you work to prevent tangling
Taking Your Macrame Further
Once you've mastered these basic techniques, you can expand your macrame repertoire by:
- Incorporating wooden beads or other decorative elements
- Adding dyed cord for pops of color
- Learning more advanced knots like the Berry knot or Josephine knot
- Creating different shapes like diamonds and triangles
- Experimenting with different types and thicknesses of cord
Conclusion
Macrame is a wonderfully relaxing and rewarding craft that allows you to create beautiful, textural art for your home. Once you understand the basic knots and techniques, the possibilities are endless!
Don't be afraid to experiment and develop your own style. Some of the most beautiful macrame pieces come from happy accidents and creative experimentation.
Share your macrame creations with us in the comments or on social media – we'd love to see what you make!
Comments (3)
Rachel Green
May 30, 2023Thank you for this tutorial! I've been intimidated by macrame for so long, but your step-by-step instructions make it seem doable. Can't wait to try this weekend!
Alex Johnson
June 2, 2023What length do you recommend cutting the cords for a larger wall hanging? I'd like to make one about 48" long.
Lisa Thompson
June 3, 2023Hi Alex! For a 48" finished length, I'd recommend cutting your cords to about 12-14 feet each. Remember that knots use up quite a bit of length, so it's always better to have too much cord than too little. You can always trim the excess at the end!
Leave a Comment